| Page 12 | Modeling a Mountain Bike: Details |
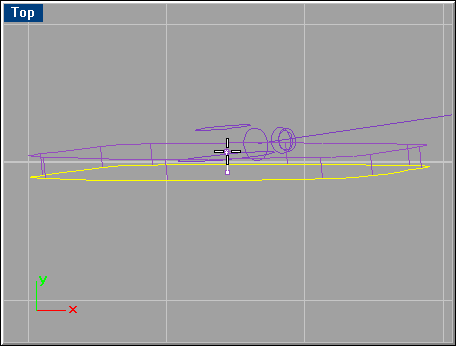
Either open ‘Bike2.3dm’ or import ‘Curves-3.3dm’ into your existing bike scene. The new curves define many of the smaller details of the bike. If importing, create a new layer called ‘Curves-3’ and move the imported curves into this. Set it to the only layer visible in the ‘Edit Layers’ panel.
Zoom in on the reflector in the rear of the bike, and in the Top viewport, select the reflector curve and go ‘Surface/Extrude/Straight’. At the command prompt, type C for Cap=Yes, (capping the open ends) and enter a value of –0.15.
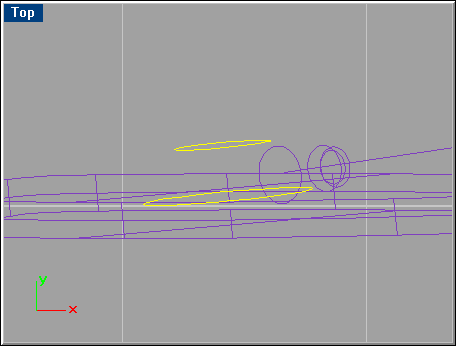
Select the curves shown below and loft them. When done, cap the openings and join all three surfaces. Repeat this step for the front wheel reflector.
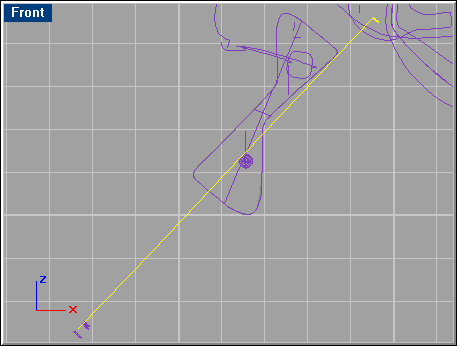
Select the curves below and do a ‘Sweep 1 Rail’ with default options to create the spoke, which later on will be arrayed.
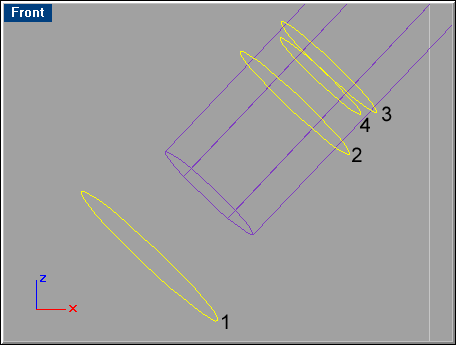
Zoom in on the bottom end of the lofted surface and skin together the curves in the order shown below. NOTE: Execute the loft command before selecting anything, so that you can select the curves in order. Use automatic direction when you see the arrows of the curves. In the ‘Loft options’ panel choose ‘Tight’ lofting style.
In the Top viewport, find the curves selected below and loft them together using the default options. Select one of the curves once again, and patch it with the same options used above. Do the same with the other curve.

Repeat this step with the two curves just above the ones selected here.